Smartgain
Smartgain helps you establish a suitable recording level across the selected analogue inputs. Arm the channels you want to measure, then perform at the loudest level you expect during recording while Smartgain adjusts their gain. It works with the Audient Console Mic Preamps and JFET instrument inputs, but not optical digital inputs or Virtual/loopback channels.
Using Smartgain from the Hardware
- Press SMART to enter Smartgain mode. If iD Control is open, the Smartgain window also opens. All four analogue input channels can then be armed for measurement; an available channel pulses and an armed channel is steadily illuminated.

- Press an input button to arm it and press it again to disarm it. Once the required inputs are armed, press SMART again to begin the configured countdown and measurement process.
- Perform at the loudest level expected during recording while Smartgain measures the selected analogue inputs and sets their gains. If iD Control is open, review the channel results when measurement finishes. Select Finish to keep the gain settings, or use Retry Failed or Retry All as needed.
Smartgain in iD Control
You can select inputs, start the measurement and review the results directly in iD Control without using the hardware SMART button.
- Open Smartgain using the SMARTGAIN button in the application header. Available analogue inputs are shown in a grid using their current Mixer channel names.
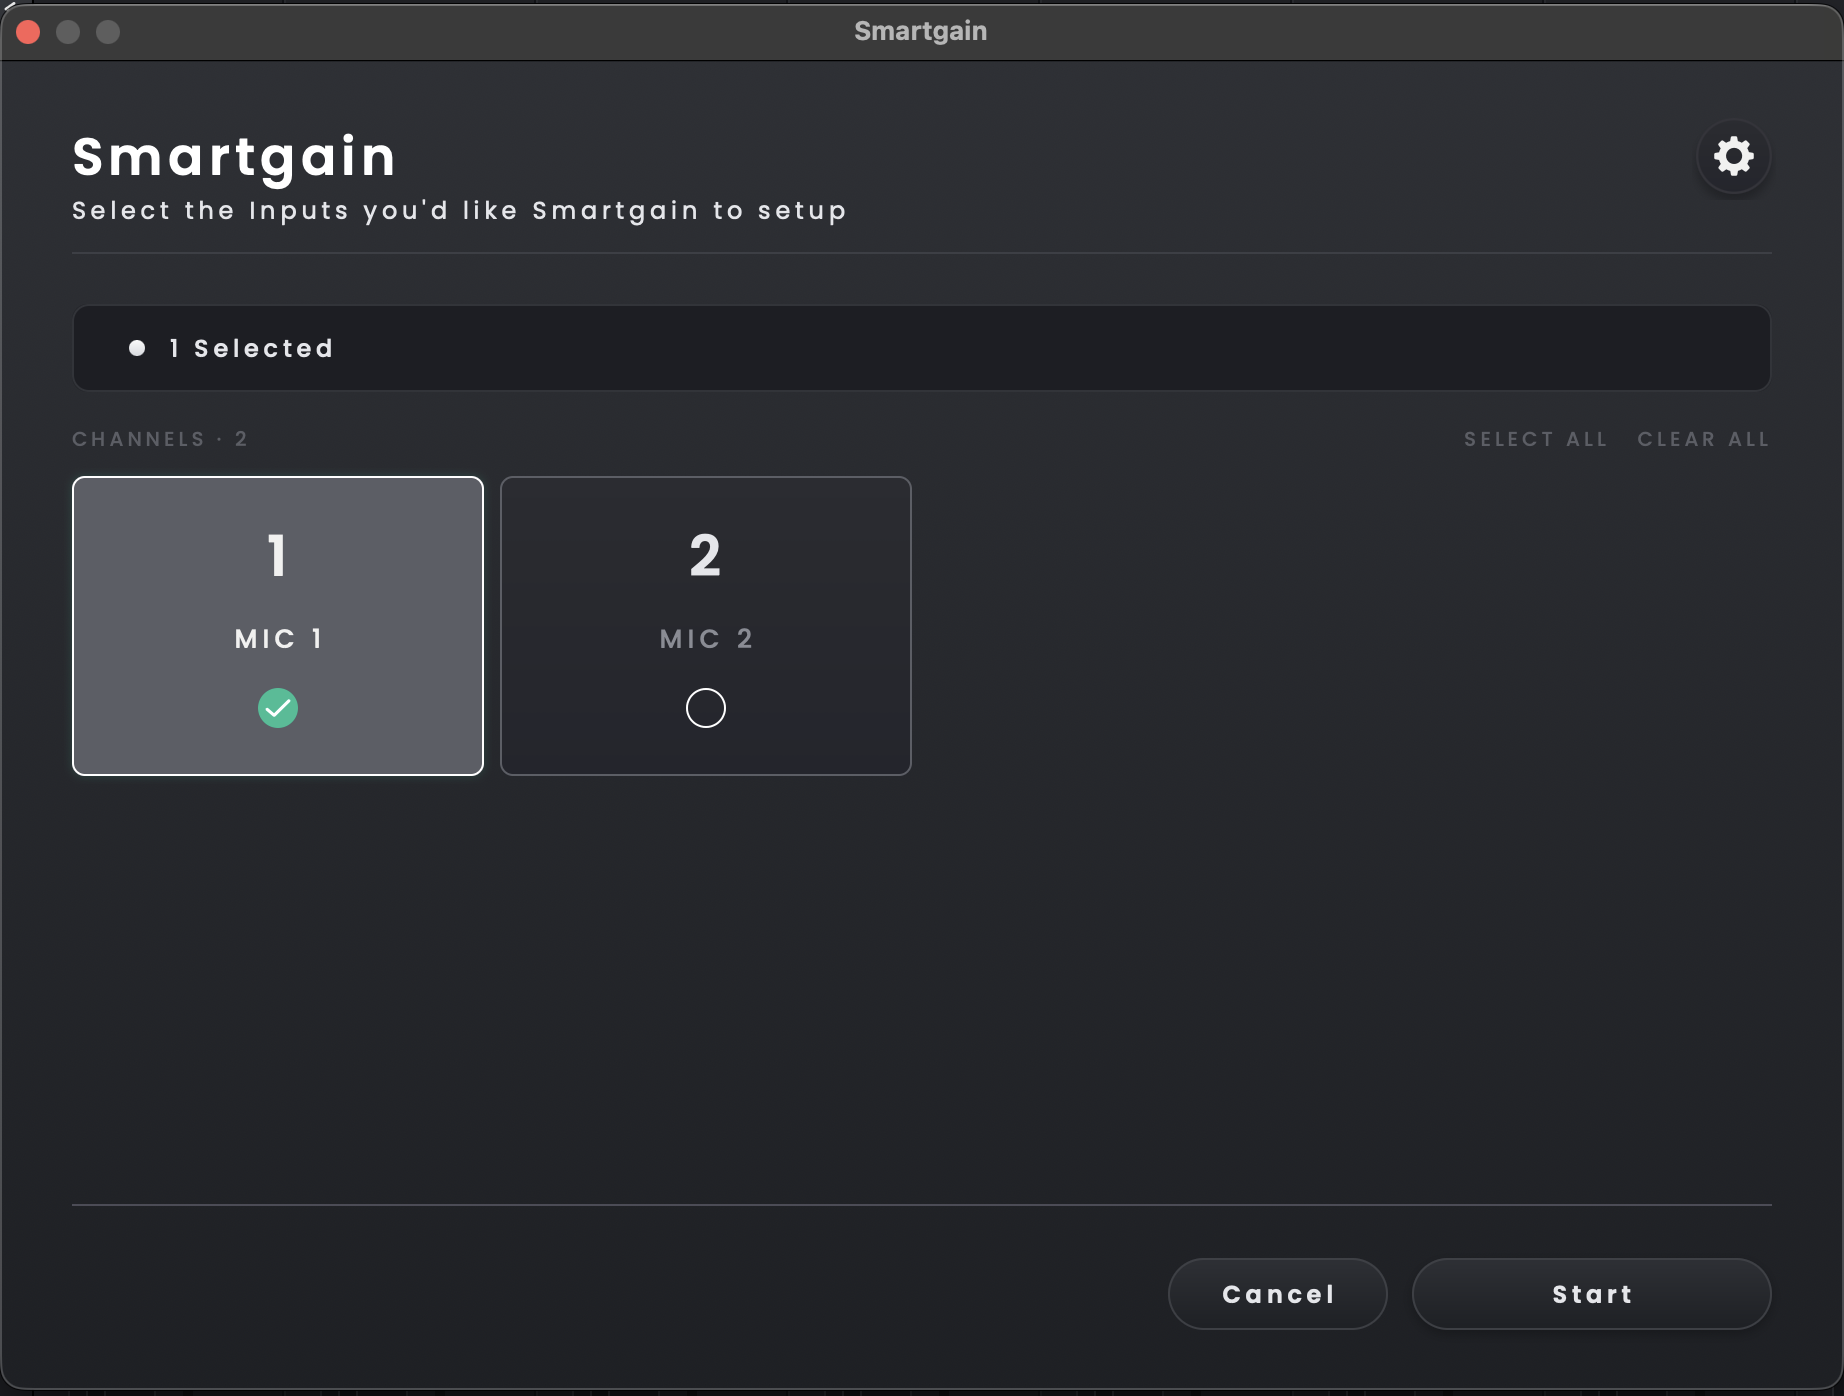
- Select the required channels and choose Start. Select All selects every available Smartgain input and Clear All removes the current selection.
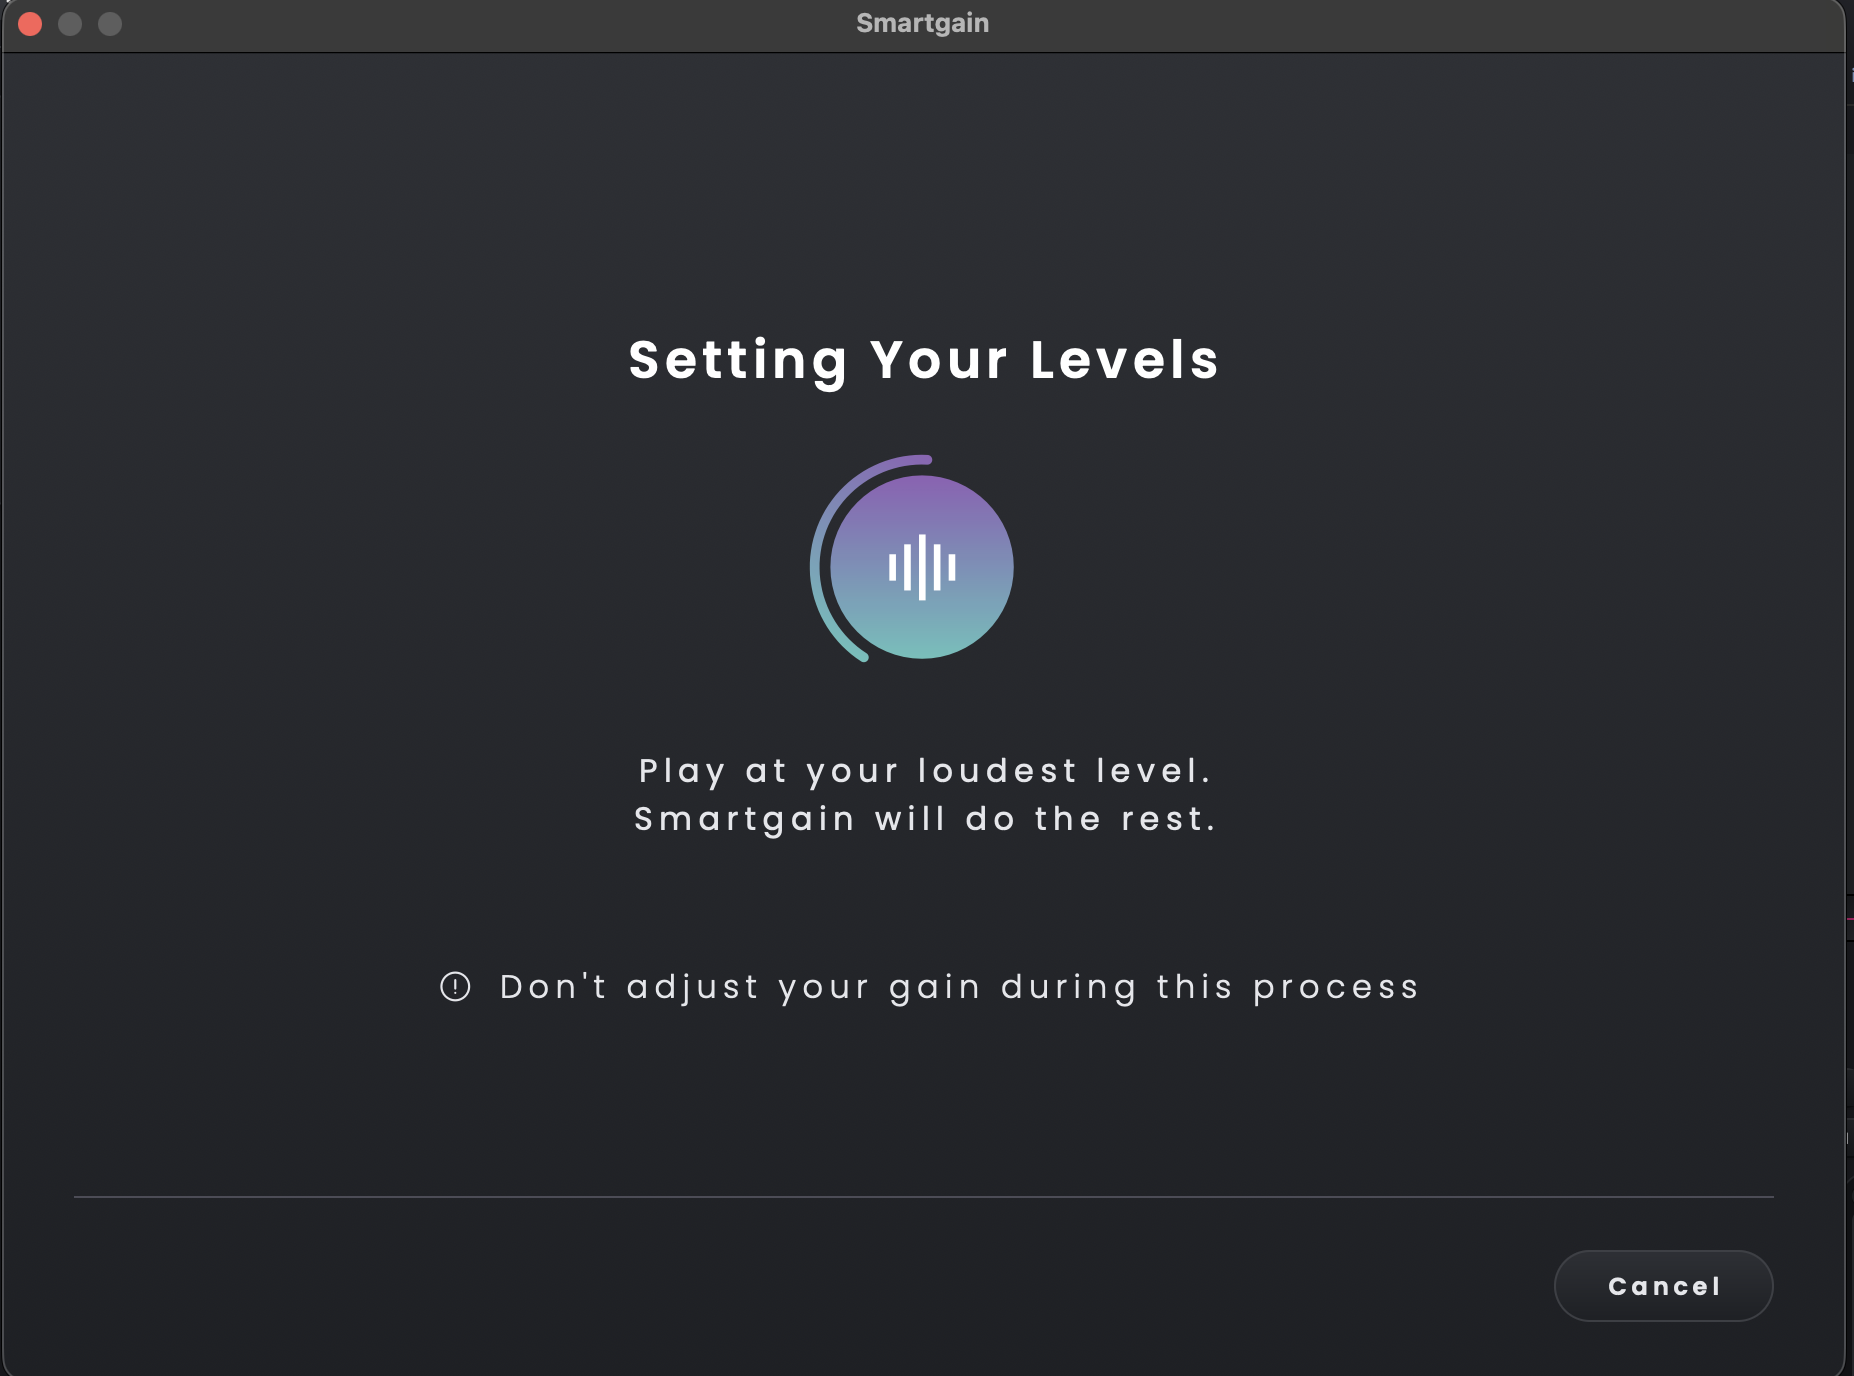
- Before measurement begins, Smartgain displays a countdown. Perform at the loudest level expected during recording while Smartgain measures the selected signals, and do not adjust the input gain during the measurement. Cancelling during measurement returns to the input-selection stage.
- When measurement is complete, each channel is shown as Successful or Unsuccessful. The results header shows Assigned, Successful, Unsuccessful and Unassigned counts. Failed channels can be measured again with Retry Failed, while Retry All repeats the process for every selected channel.
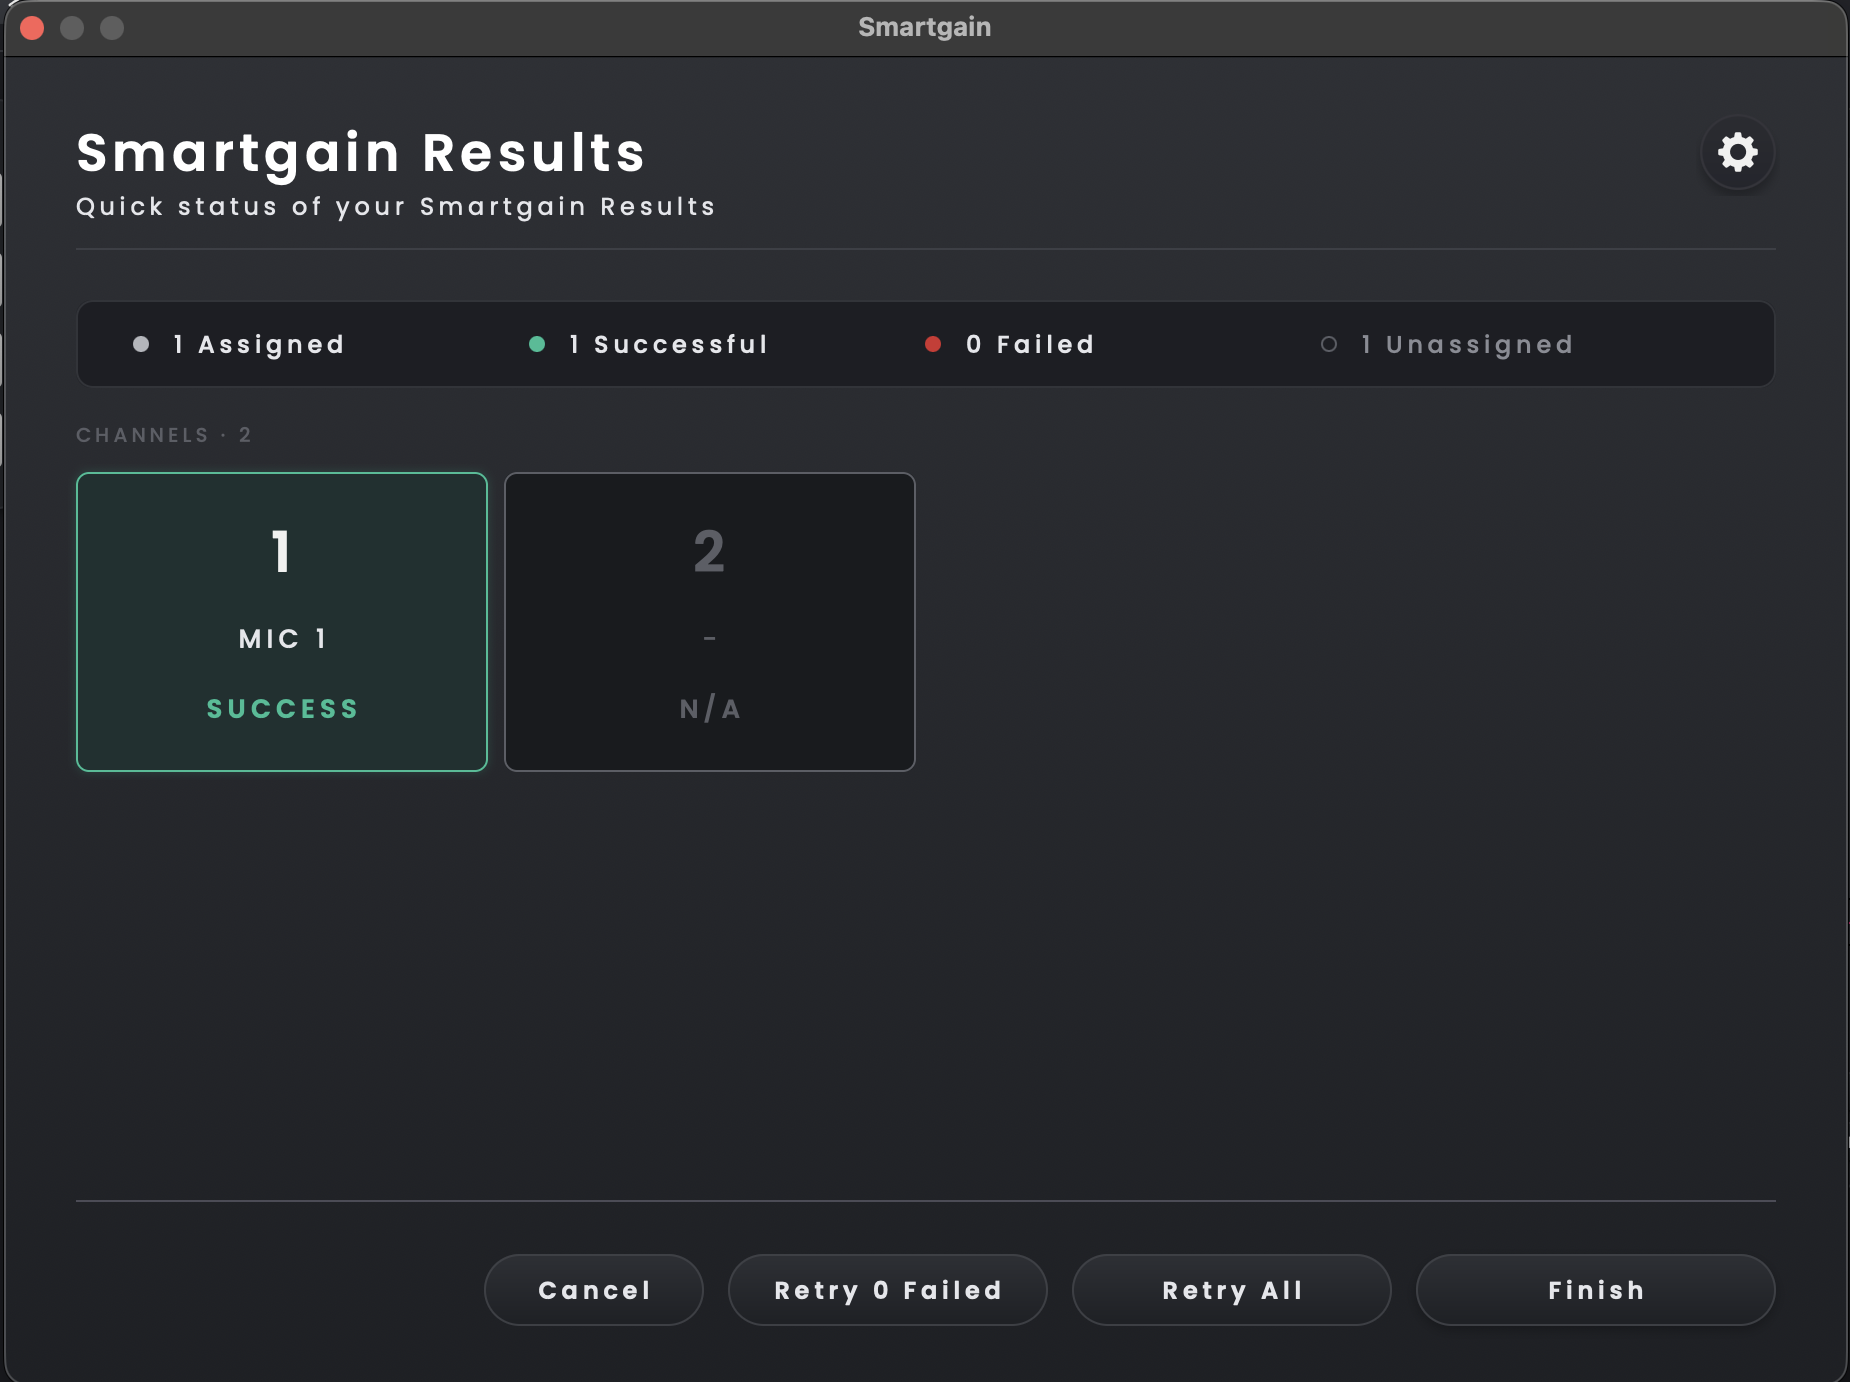
- Selecting Finish saves the new gain settings. Selecting Cancel disregards the Smartgain changes.
When Smartgain is reopened after a previous run, the previous channel selection is recalled and can be reused or cleared.
Smartgain Settings
Choose a Target Level to decide how much headroom Smartgain leaves when setting the input gain: Safe (-18 dBFS), Standard (-12 dBFS), Impact (-9 dBFS) or Hot (-6 dBFS). Safe gives the most headroom; Hot gives the least.
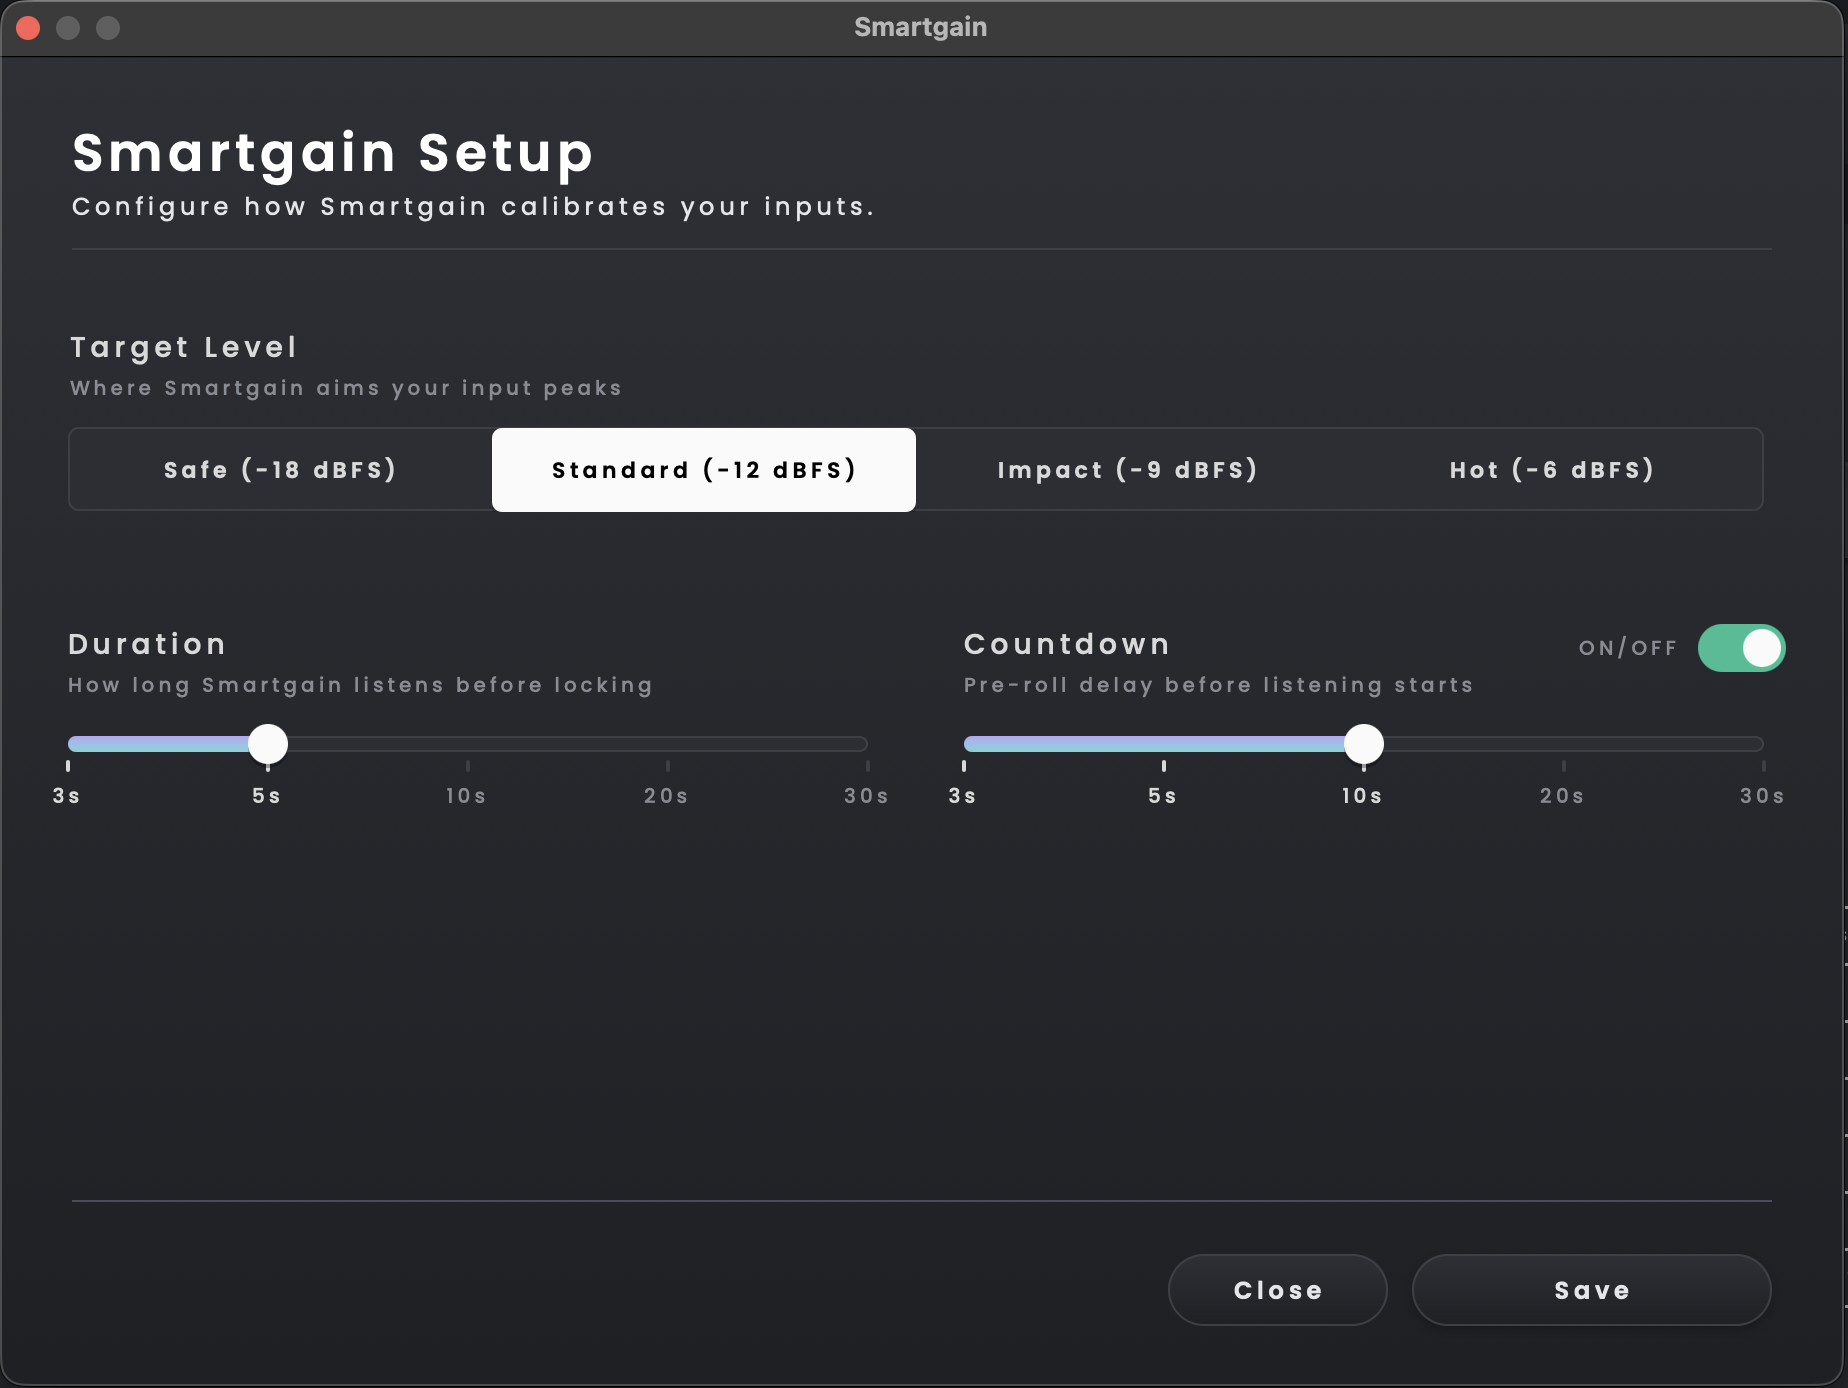
Measurement Duration can be set to 3, 5, 10, 20 or 30 seconds. The default is 5 seconds.
Countdown can be set to 3, 5, 10, 20 or 30 seconds and can also be disabled. The default countdown is 3 seconds.
Select Save to store the Smartgain Setup configuration. Closing the setup panel without selecting Save discards the changes.