iD Control & Mixer
iD Control brings the iD2 Mixer, monitoring, metering, Smartgain and routing together in one application. Use the Mixer to balance live inputs with computer playback, then open the Monitor Reference Window or Settings when you need more detailed control. Supported hardware and software controls stay in sync. iD Control manages one connected iD device at a time.
iD Control opens to the Mixer by default, so you can set the listening balance as soon as the interface is connected.
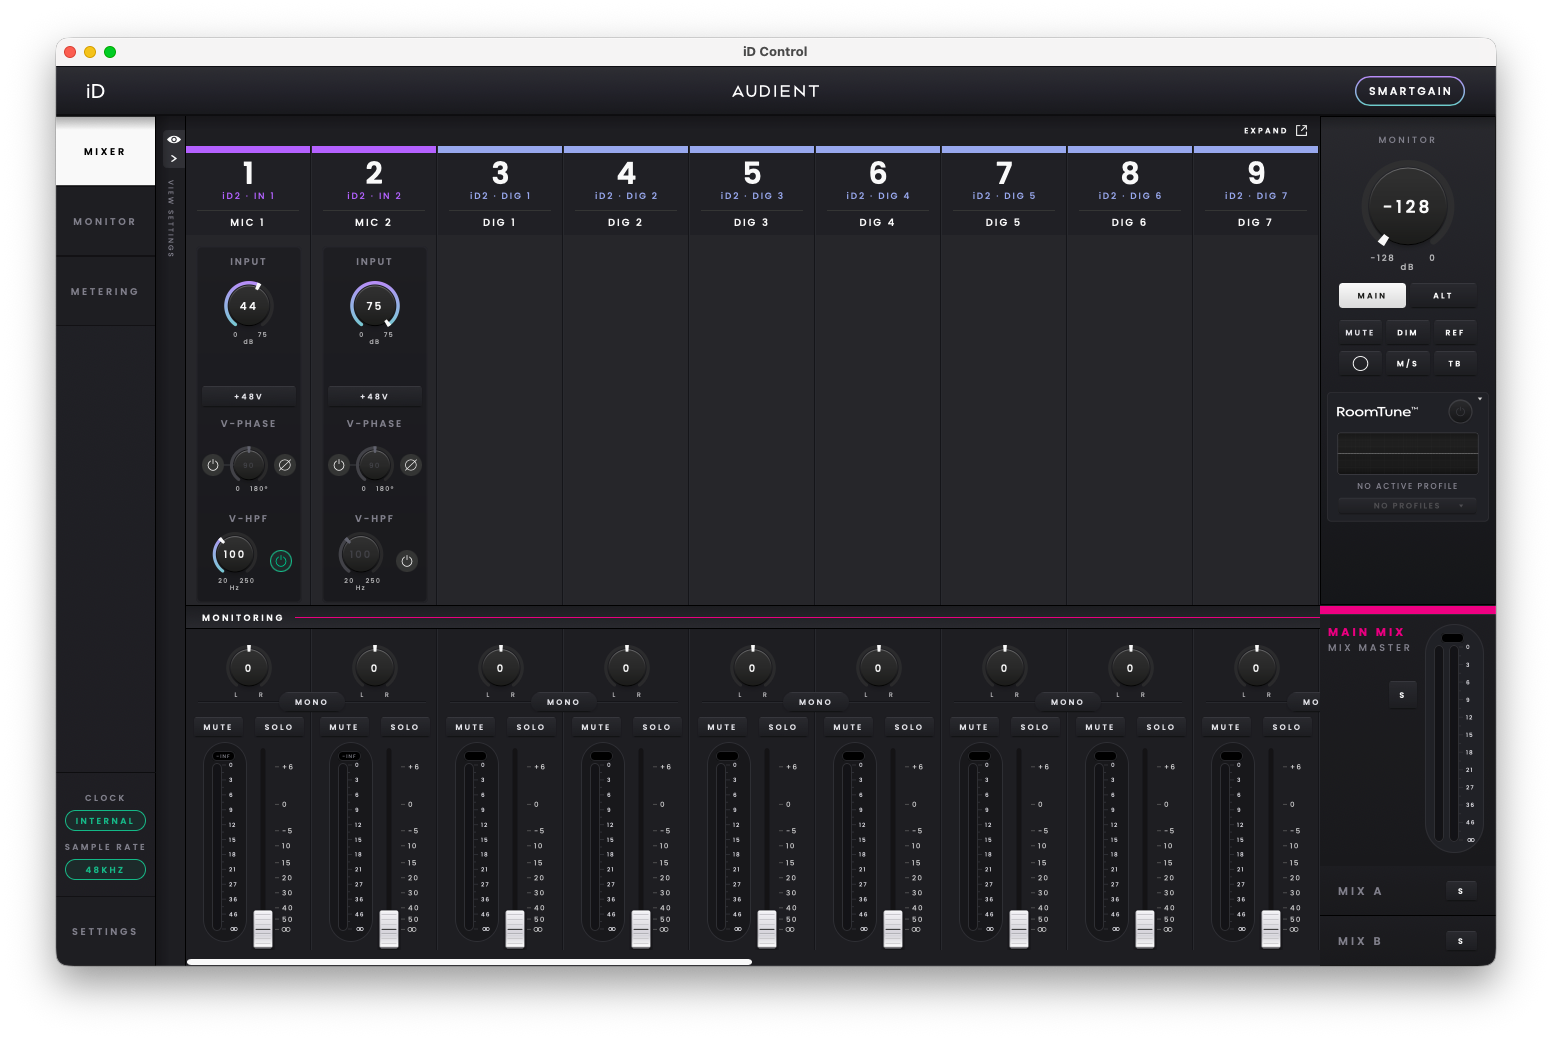
The side navigation provides access to the Mixer, Monitor and Metering views. Open Settings to change device or monitoring options. Collapse the side navigation to replace the text labels with icons.
Resize the iD Control window as required, or open the Mixer in a separate window. With the Mixer expanded, select Show Expanded to bring that window to the front or Close & Dock to return it to the main application. Scroll horizontally through channels and vertically to reach controls outside the visible area.
Application Menu and Presets
The iD Control application menu provides options to open and save Mixer presets, restore the default application settings, close the window or quit the application.
Choose Open to load a saved Mixer preset, or Save to store the current iD Control configuration for later recall.
Restore Default returns iD Control settings to their factory-default state after a confirmation prompt.
On macOS, Open, Save, Close and Quit are also available with Command-O, Command-S, Command-W and Command-Q. Hide iD Control uses Command-H and Hide Others uses Option-Command-H. On Windows, Hide iD Control uses Ctrl-H and Hide Others uses Alt-Ctrl-H.
On macOS, saved Mixer presets are stored in User / Library / Application Support / iD / Presets. About iD displays the installed iD Control version and copyright information.
The Mixer
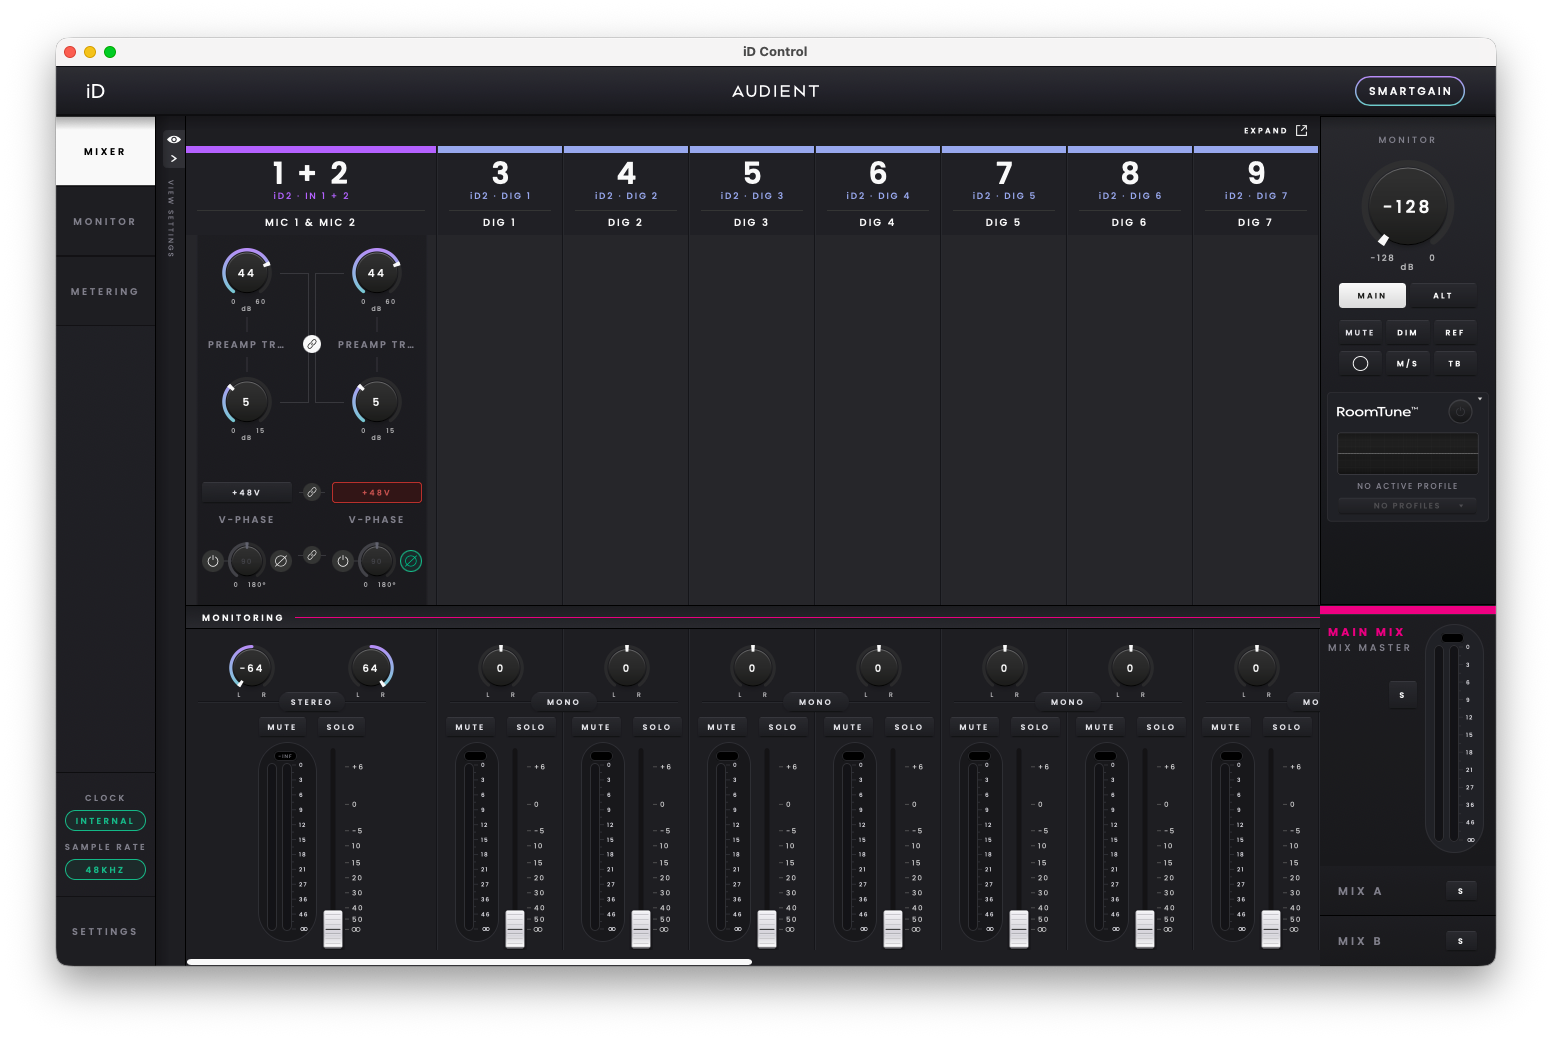
The Mixer brings live inputs, digital inputs and computer playback together for low-latency monitoring. Set the analogue input gain for a healthy recording level first, then use the Mixer to decide how much of each source you hear. The iD2 Mixer starts with the two analogue Mic/Line channels, followed by any available digital inputs, three stereo pairs of Virtual computer-playback channels, and the stereo Reverb Return.
Virtual channels carry playback from the computer into the iD Control Mixer. Up to eight digital channels can appear, depending on the digital mode and sample rate. Virtual channels are stereo by default and use labels such as Virtual 1 & 2.
The JFET instrument input takes precedence over analogue Input 1 when connected.
Digital channel count depends on the selected digital mode and sample rate.
Customising the Mixer
Channel names can be customised to make larger sessions easier to navigate. Double-click a channel name to enter a new label for the connected microphone, instrument, digital source or computer playback channel.
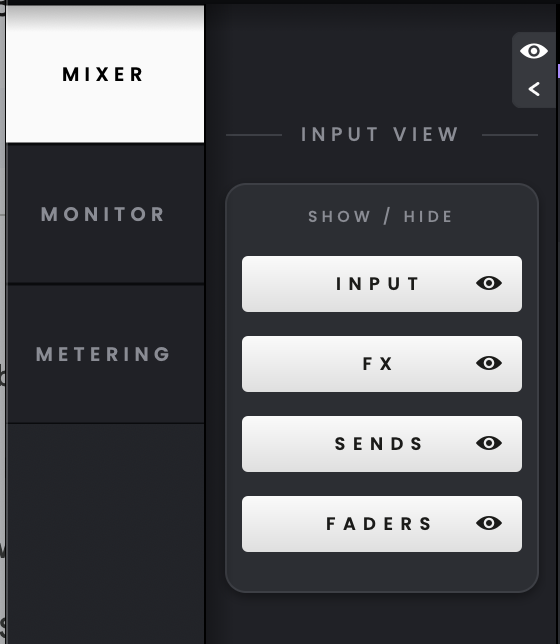
Use the Mixer Sidebar to show only the controls you need: Input Settings for preamp adjustments, DSP for processing, Sends for effects and Faders for the monitor balance. These display choices apply across the Mixer, not just to the selected channel. Collapse the sidebar using the arrow at its top right when you want more space.
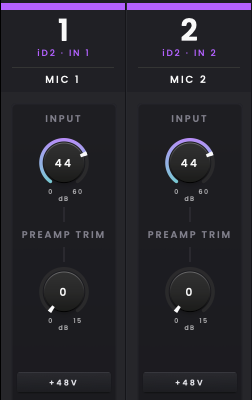
Analogue Input Controls in iD Control
Input Gain and Preamp Trim
Input Gain adjusts the analogue gain of the selected input and mirrors the setting controlled from the iD2 hardware.
Show Preamp Trim in Settings to display a separate post-preamp control beneath Input Gain on analogue Channels 1 and 2. It is hidden by default and lets you adjust the preamp and subsequent level control separately. Check the input meter and avoid clipping when setting recording levels.

When enabled, PREAMP TRIM appears beneath Input Gain on the analogue channel strips. It adds 0–15 dB of digital gain after the analogue preamp; it does not provide attenuation below 0 dB of digital trim.
When you enable Show Preamp Trim in Settings, iD Control displays an explanation. Select Confirm to continue. To skip this message in future, select Do not show again before confirming.
High-Pass Filter
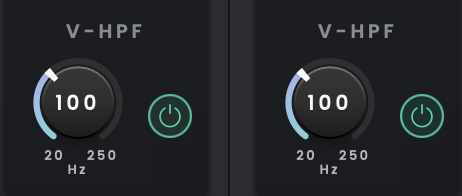
Use the High-Pass Filter to reduce unwanted low-frequency content on the selected analogue input, such as microphone stand rumble or low-frequency vibration. Switch it on or off for the required channel in iD Control; the cutoff frequency cannot be adjusted. Because it also removes some bass energy, compare the sound with the filter bypassed when recording low-frequency sources.
Variable Phase
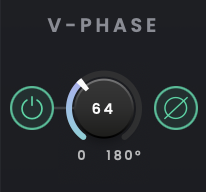
Variable Phase uses filtering to adjust the phase of an analogue input over a user-selected frequency band. It is separate from the 180° polarity inversion control.
Enable Variable Phase and adjust its settings to change the phase response within the selected frequency band.
180° Polarity Inversion
Use the dedicated 180 control to invert the polarity of the entire incoming signal. It operates independently of Variable Phase, so both controls can be enabled at the same time.
Analogue Tone Suite
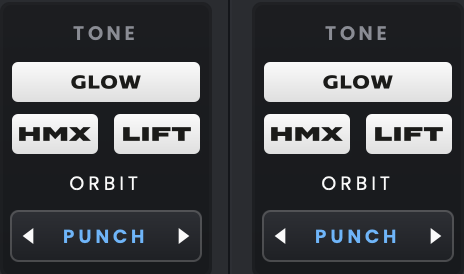
The Analogue Tone Suite provides optional tone shaping on an analogue input before monitoring or recording. Leave these controls at their normal settings when additional tone shaping is not required. HMX adds harmonic saturation using a discrete MOSFET circuit, while LIFT adds a high-frequency lift. GLOW switches HMX and LIFT on together and follows the GLOW button on the iD2 hardware; if either process is disabled separately, GLOW turns off while the remaining process stays active.
ORBIT changes the input impedance of the Audient Console Mic Preamp, which can change how a connected microphone interacts with the preamp. Its three settings are Vintage, Smooth and Punch. ORBIT has no separate off state: one setting is active when the control is available on the Mic/Line input. It does not apply to the front JFET instrument connection.
DSP Processing
EQ and compression can shape a Mic/Line input but are not required for recording. Each processor can be enabled or bypassed independently, and the processing order can be changed. Leave both bypassed until processing is required.
Please Note: DSP is available at sample rates up to 96 kHz. DSP will not be available at 176.4 kHz or 192 kHz.
EQ
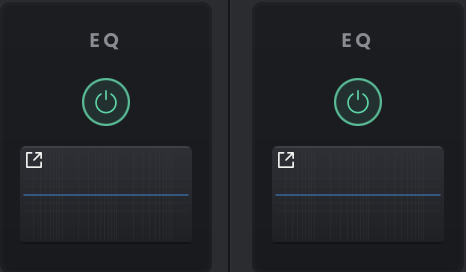
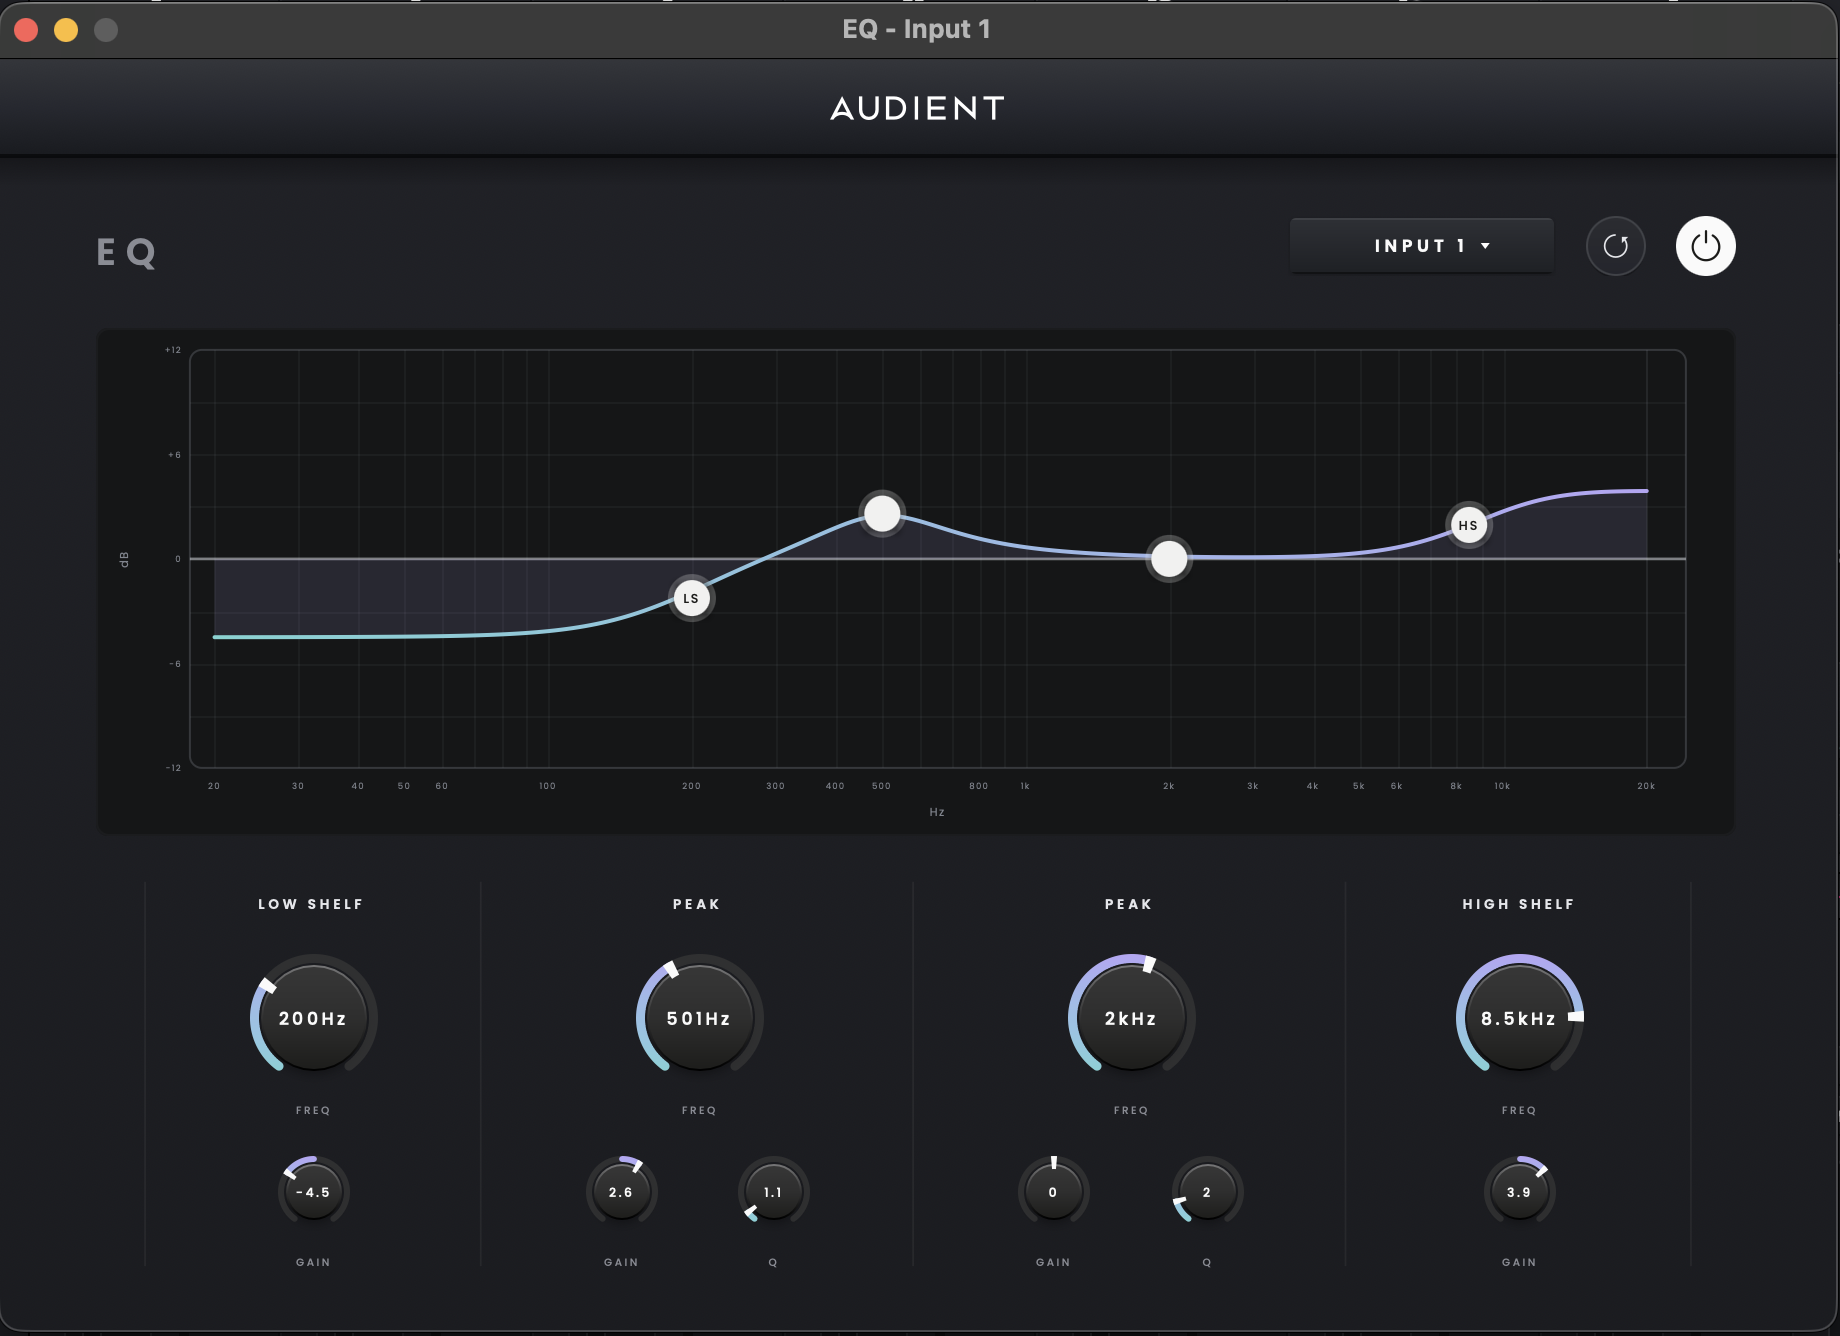
EQ changes the tonal balance of a signal. The four-band EQ combines low and high shelving filters with two parametric bands, giving you control over different parts of the frequency range. Each band provides Frequency, Gain and Q control, with up to ±6 dB of gain adjustment. Q can be adjusted from 0.01 to 1, with a default value of 0.707. Adjust the EQ from the channel strip or expand the processor for a larger editing view.
Compressor
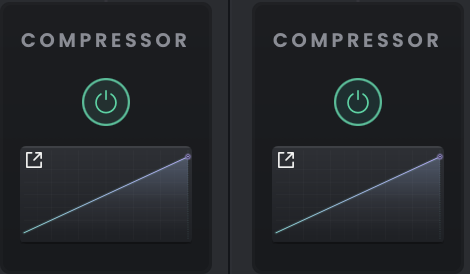
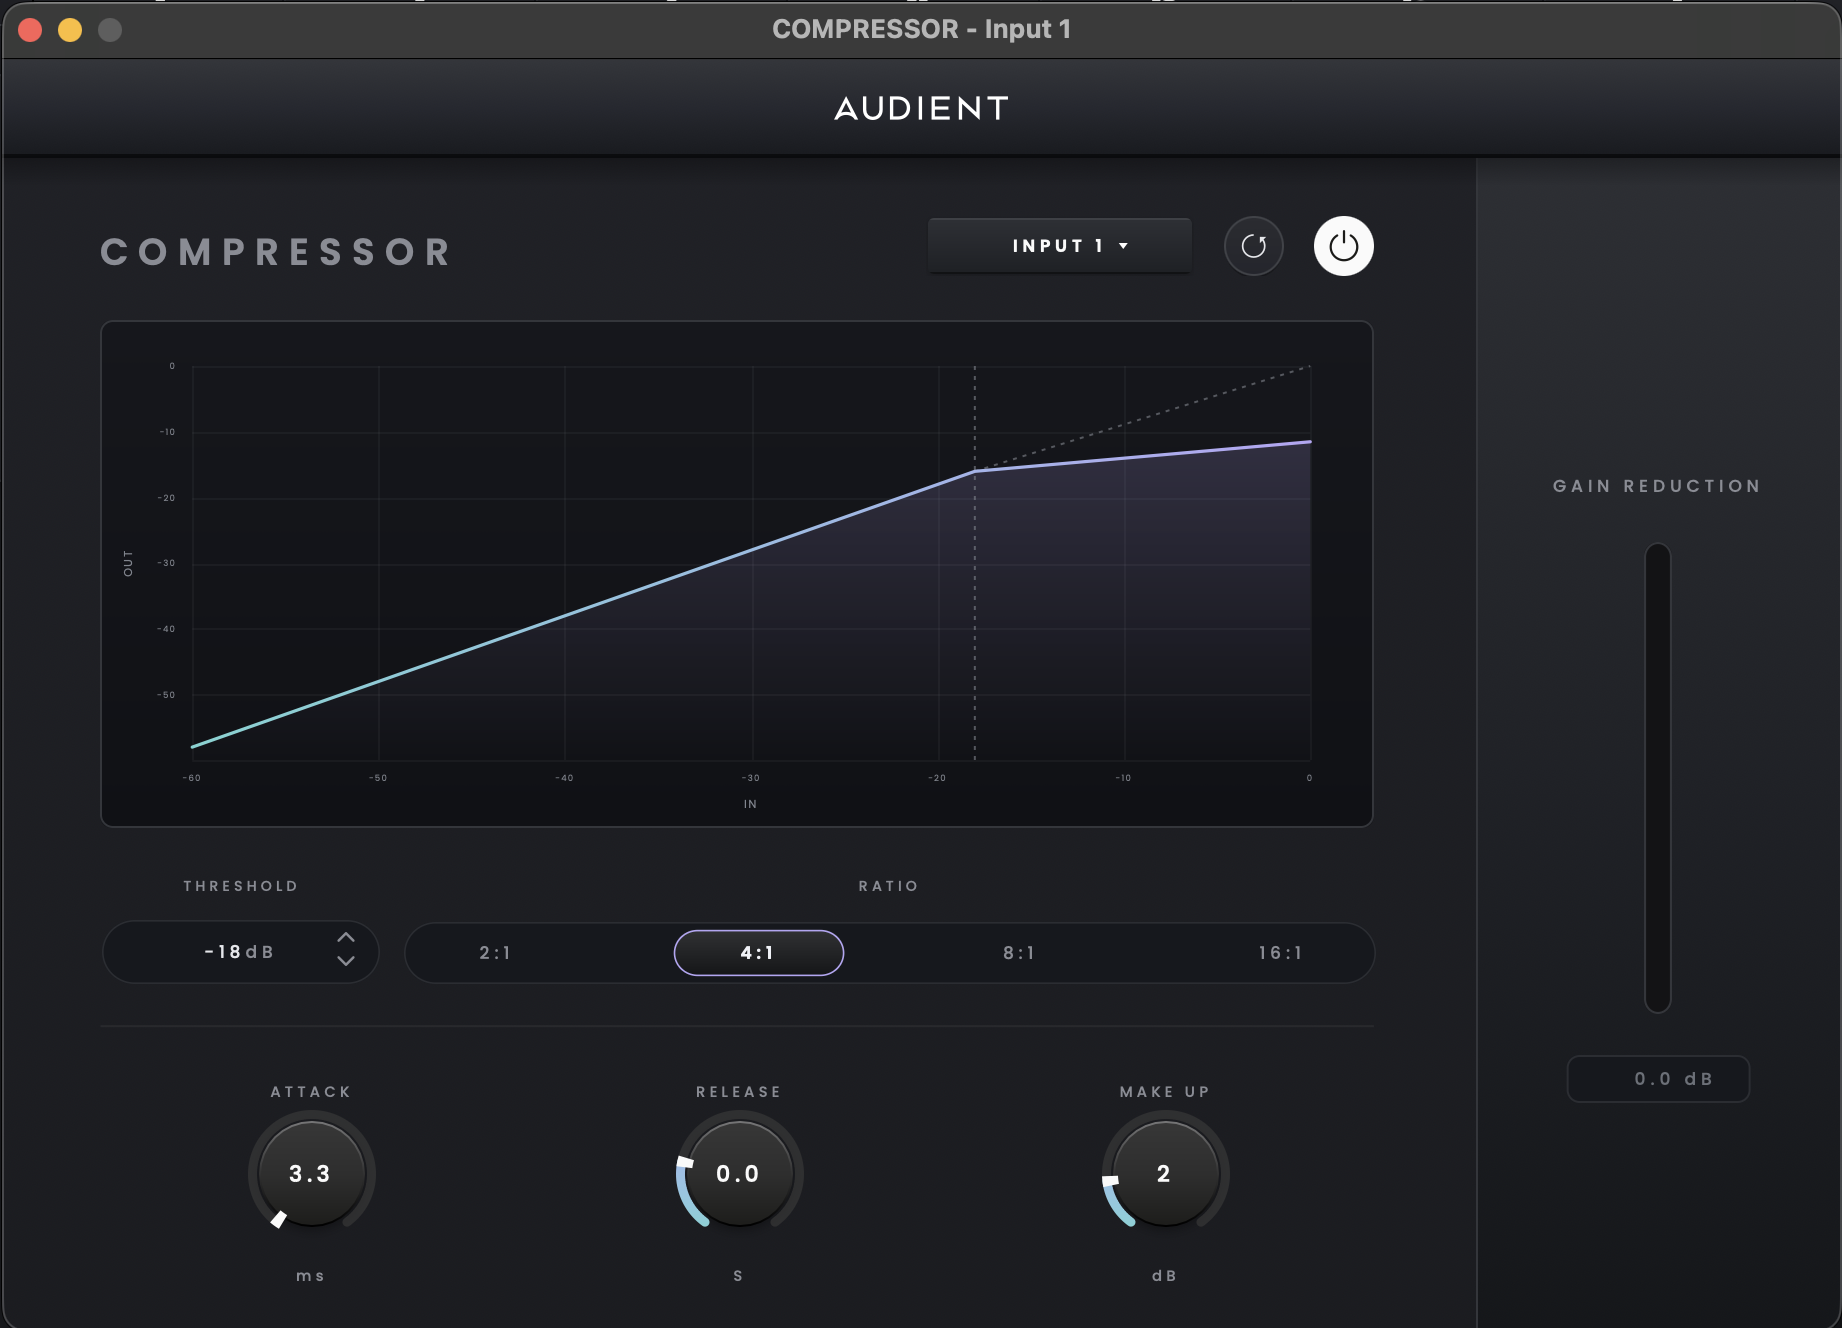
A compressor controls dynamics by reducing the level of louder parts of a signal. The iD compressor provides Attack, Release, Threshold, four selectable Ratio settings, Makeup Gain and Bypass controls. Set Threshold to determine when compression begins, use Ratio to choose how strongly it responds, and adjust Attack and Release to shape its response to changes in level. Use Makeup Gain to adjust the level after compression. Expand the compressor for a larger editing view.
Processing Order
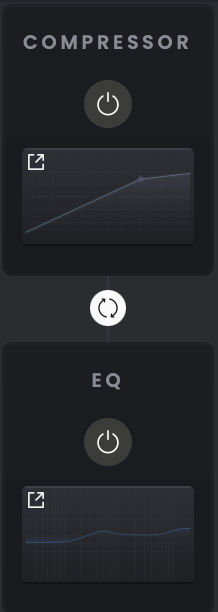
By default, EQ comes before the Compressor. Any EQ boosts or cuts will also change the signal feeding the Compressor, so you may hear a difference in how it responds. If you would rather compress the original signal first and adjust its tone afterwards, use the swap control to change the order. Check the Threshold and listening level again after swapping, as the same settings can produce a different result.
Monitoring and recording with Record FX
With Record FX switched off, EQ and compressor processing is heard in the monitor mix while the DAW receives the unprocessed input. With Record FX switched on, that processing is included in the DAW recording.

Digital Inputs
In ADAT mode, iD2 digital inputs are presented after the two analogue inputs and can provide up to eight channels depending on sample rate. They occupy Mixer channels 3–10 and are identified as Dig 1 - IN1-8 when all eight channels are available.
Digital channels can be renamed in the Mixer and sent to iD Control’s Comfort Reverb.
When S/PDIF mode is selected, only two digital input channels are available for the optical port.
Building Monitor Mixes
Set the input gain for recording first, then use the lower part of each Mixer channel to build the listening balance. Adjust Fader and Pan for the current monitor mix, and use Mute or Solo to check individual sources. These monitor-mix changes do not alter the input level sent to the DAW.
If you mute an analogue input in iD Control, its hardware input button pulses.
Channel faders start at unity and can be adjusted from −128 dB to +6 dB. Alt-click a fader to return it to unity. Use Pan to position a channel in the stereo monitor mix; Alt-click Pan to return it to its default position.
Stereo Pairing
To create a stereo pair, click MONO between two channels in a sequential pair, such as 1–2 or 3–4. The control changes to STEREO, combining the channels into a stereo view with a shared fader, stereo metering, and linked Mute and Solo controls. Channels must be paired in their predefined pairs.
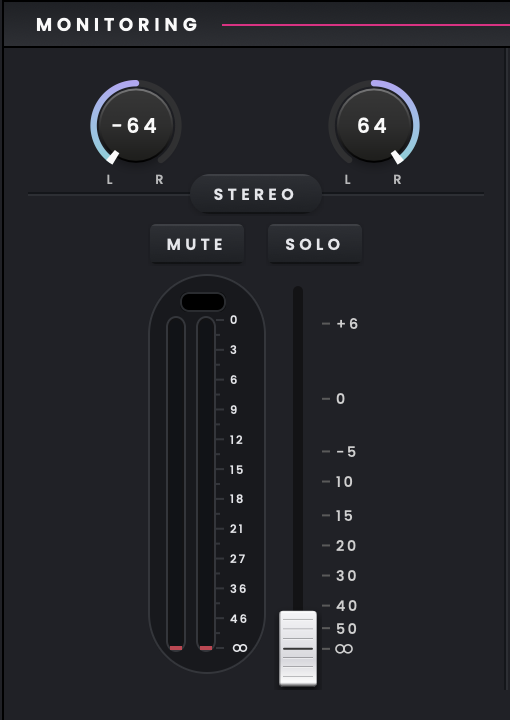
Stereo pairing also links the channel parameters, including preamp settings, Analogue Tone Suite, ORBIT, DSP processing and sends, where available. Adjusting a linked parameter on either channel applies the change to both channels.
You can unlink individual parameters when different settings are required for the left and right channels. Click the link icon between the corresponding controls to unlink them. Each parameter can then be adjusted independently while the channels remain stereo-paired.
For example, when recording two microphones as a stereo pair, you may need different input gain settings for each microphone. Unlinking Input Gain allows you to adjust them separately while maintaining the shared stereo fader.
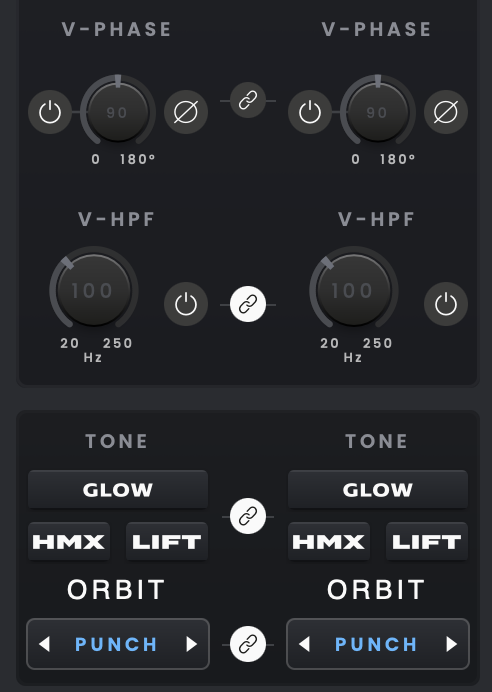
When adjusting an unlinked parameter using the hardware controls, the interface allows you to select which input in the stereo pair you want to change. For example, if +48 V is unlinked, you can select either of the inputs in the pair and press 48V on the device to apply it to the input in focus.
To return the channels to separate mono operation, click STEREO.
Virtual channels are stereo by default.
Comfort Reverb
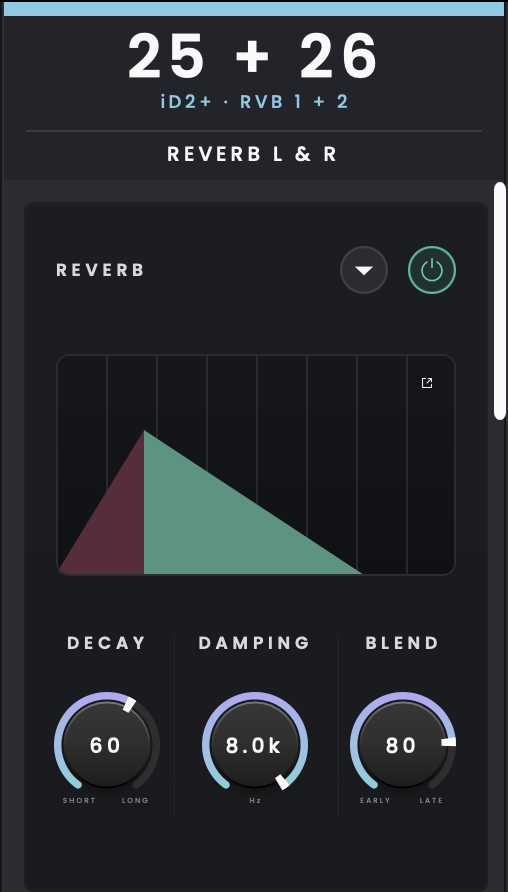
Comfort Reverb adds reverb to a performer's monitor mix without including it in the recording. Enable reverb on the required channel and adjust Send Amount; the send is post-pan, so the reverb follows the channel’s pan position. The stereo Reverb Return is minimised by default. Expand it to access the reverb settings, or open the full editor.
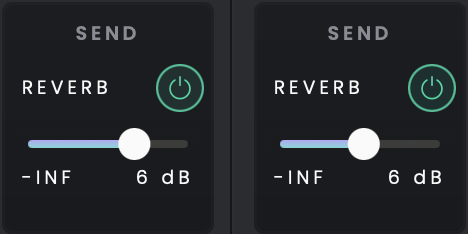
The reverb return is located at the end of the iD Control Mixer. The editor provides Decay, Damping and Blend controls. Decay ranges from Short to Long. Damping ranges from 0 to 100% and applies low-pass filtering in the reverb feedback path, affecting brightness and decay. Blend ranges from Early to Late and adjusts the balance between early and late reflections.