Hardware Controls & Monitoring
Monitoring
Output Mode
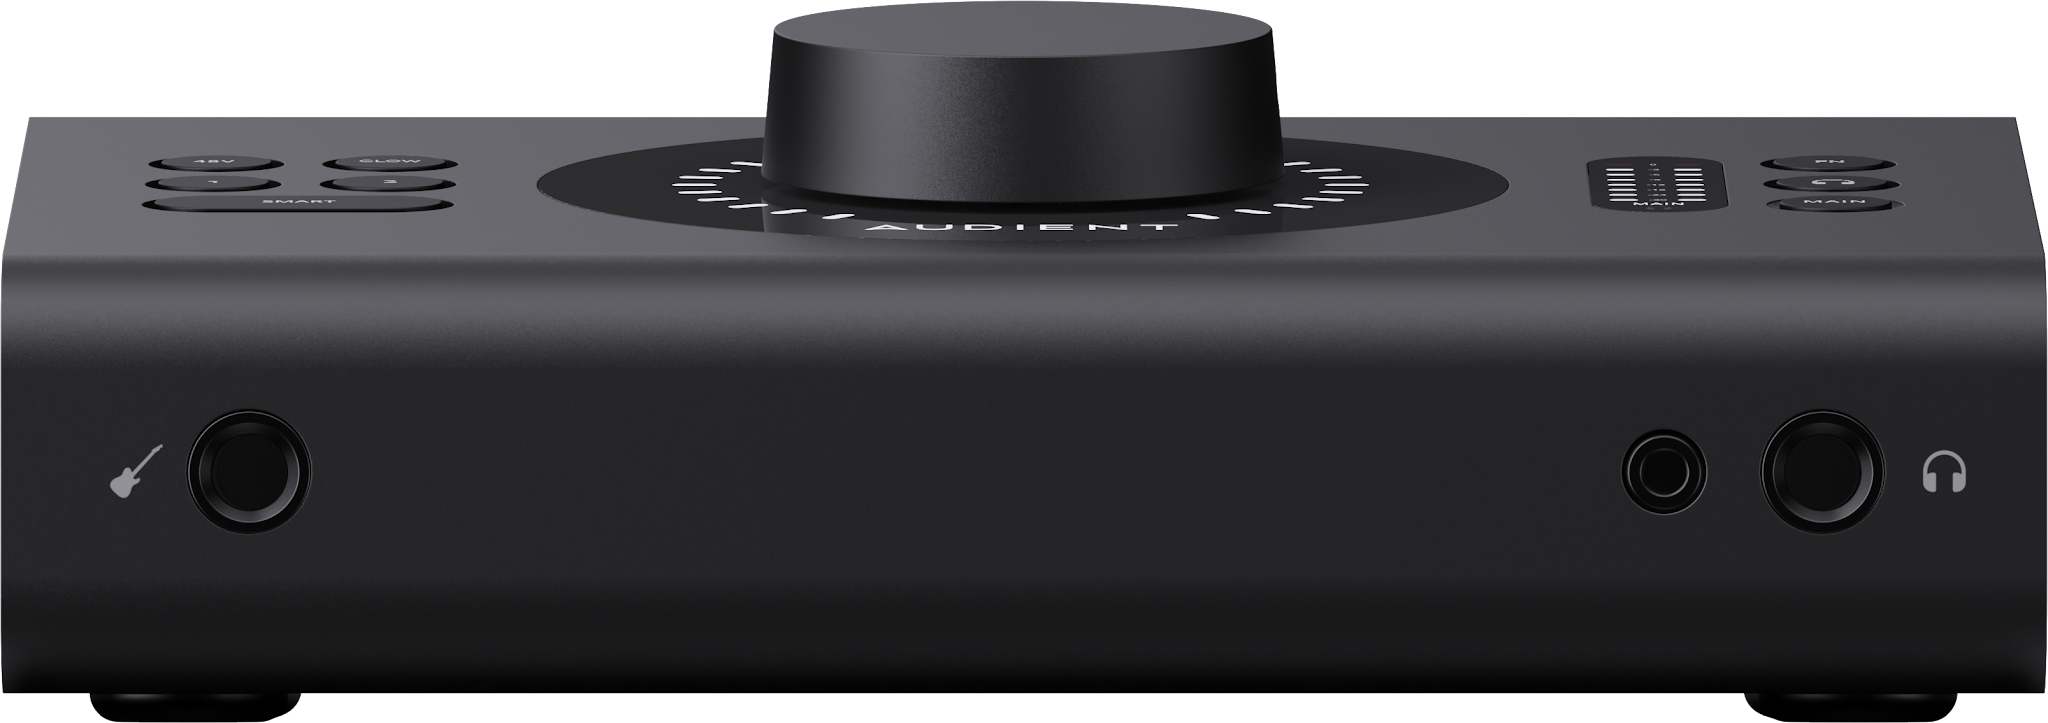
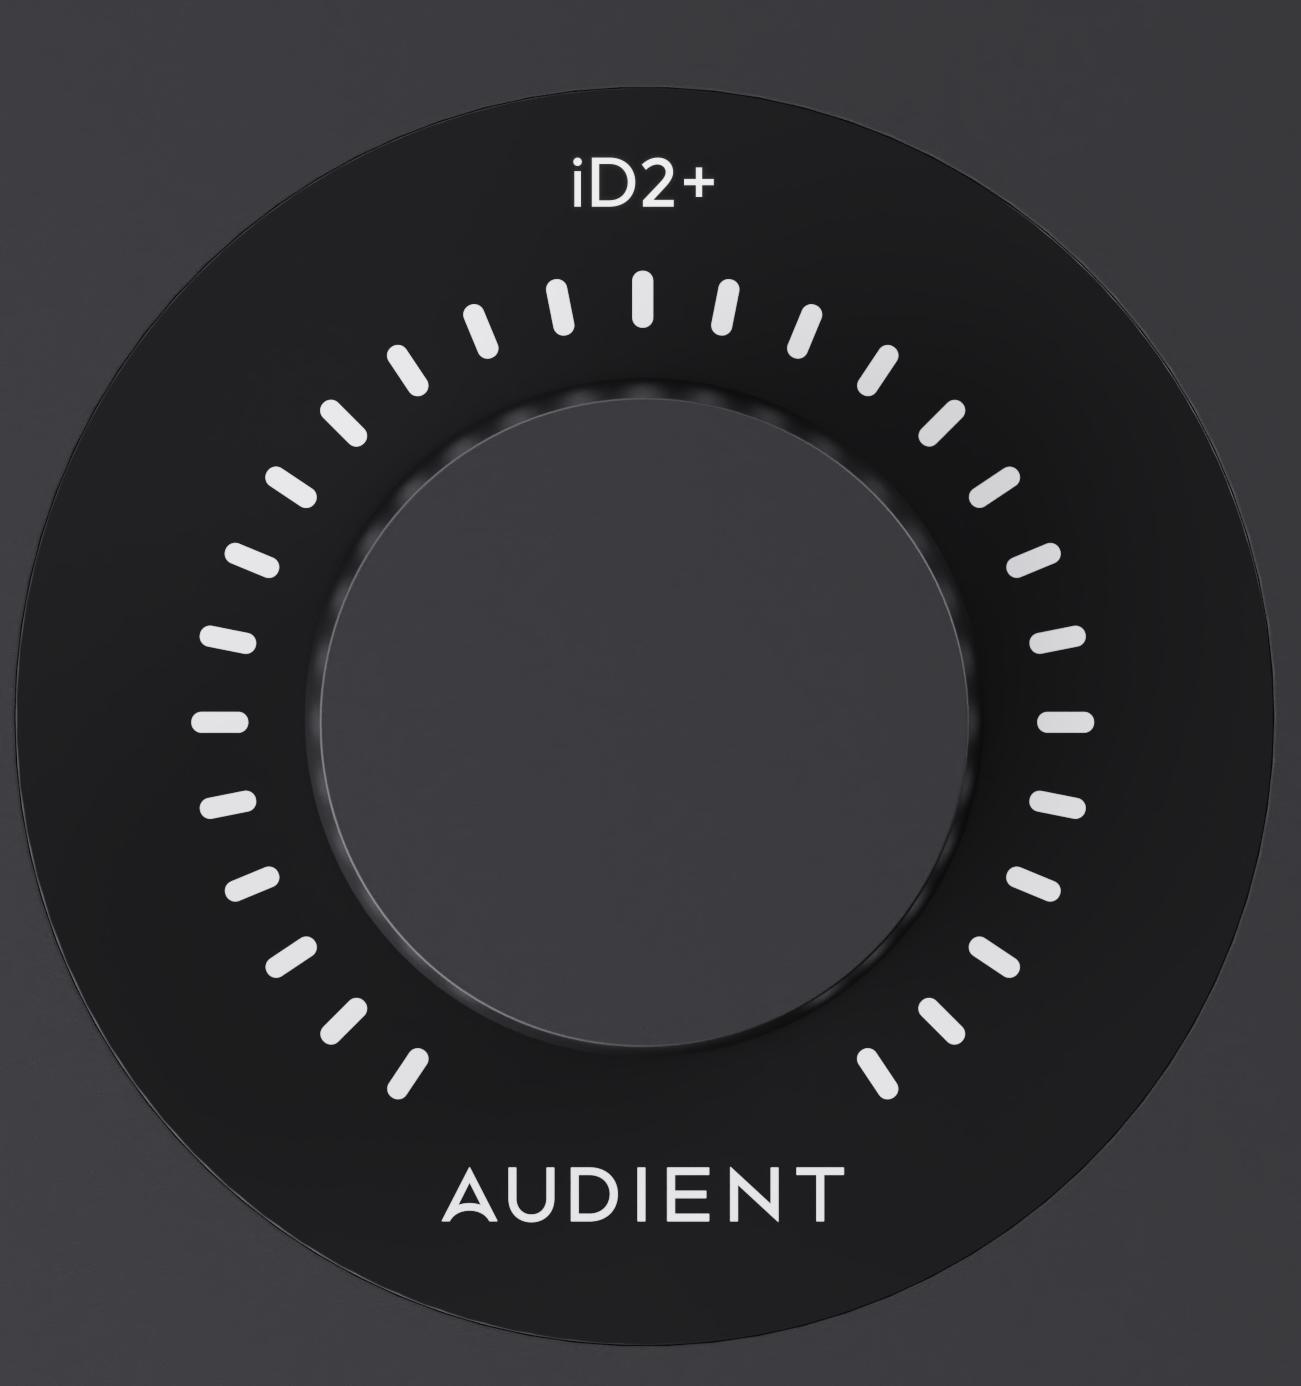
After startup, iD2 enters Output Mode with the MAIN button illuminated. In this mode, the Control Wheel adjusts the level of the output currently in focus.
Turn the Control Wheel clockwise to increase the level or anti-clockwise to decrease it. The LED ring follows the current setting and the corresponding level is also shown in iD Control.
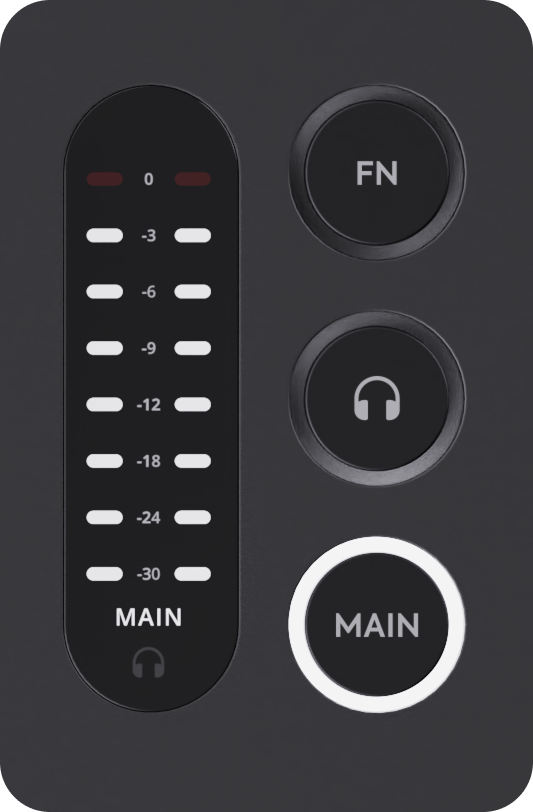
In Output Mode, the hardware meter ladder displays output metering. It is a fixed ladder of illuminated segments and does not change scale. When a speaker destination is in focus, the meter follows the active Main or ALT output; when HP1 is in focus, the headphone legend indicates that the meter is showing the headphone output.
Global Mute
Tap the Control Wheel to engage Global Mute, and tap it again to restore the muted outputs. This is separate from pressing and holding an individual output button to mute only that output. In iD Control, the Global Mute scope can be configured for the speaker outputs or all outputs.
Main and ALT Monitor Outputs
Main and ALT allow switching between two connected pairs of studio monitors without changing cables. Outputs 1–2 are used for the Main monitor output and Outputs 3–4 are used for the ALT monitor output.
MAIN is selected by default. Main and ALT are mutually exclusive, so only one speaker destination is active at a time.
The active speaker destination can be selected from the Monitor Panel in iD Control. Selecting ALT routes the monitor signal to Outputs 3–4; selecting MAIN returns monitoring to Outputs 1–2. To switch speaker outputs from the hardware, assign ALT speaker selection to the Function Button in iD Control, then press FN.


RoomTune Monitor Correction can be used with both the Main and ALT monitor outputs.
Headphone Monitoring
Press the headphone button to place HP1 in focus. The headphone button illuminates, MAIN illumination clears and the Control Wheel LED ring redraws to show the headphone level.
Turn the Control Wheel clockwise to increase the headphone level or anti-clockwise to decrease it. Changes made from iD Control are reflected by the hardware while the headphone output remains in focus.
iD2 has one headphone level control, HP1, feeding both the 6.3 mm and 3.5 mm headphone sockets. In iD Control, the level range is -128 dB to 0 dB.

Muting Individual Outputs
The Main and headphone outputs can be muted directly from the hardware.
Press and hold the MAIN button for one second to mute the active speaker output. The button pulses while muted and the state is also shown in iD Control. If ALT monitoring is active, holding MAIN mutes the ALT output.
Press and hold the headphone button for one second to mute HP1. The headphone button pulses while the output is muted.
Repeat the same action to restore the selected output.
Function Button
The FN button provides hardware access to an assignable monitoring function. The hardware and software FN controls are linked, so changes made from either location are reflected in the other. To configure an assignment, open the Function Button setting in the iD Control Settings window. The FN control in the Monitor Panel also provides an assignment menu.
By default, the FN button is unassigned.
The Function Button can be assigned to DIM, Mono, M/S Mode, Reference Level, Monitor Correction On/Off, Talkback or ALT speaker selection. Once assigned, pressing FN on the hardware activates or deactivates the selected function.

DIM
DIM temporarily reduces the active Monitor Output without changing the normal listening level. The amount of reduction is set in iD Control.
The Dim Amount can be set from -12 dB to 0 dB and defaults to -10 dB.
DIM can be controlled in the iD Control Monitor Panel or assigned to the Function Button for hardware access.

Mono and M/S Mode
Use MONO to audition the mix without stereo separation. The Mono Mode setting in iD Control determines whether this uses the Left channel, the Centre sum of Left and Right, or the Right channel. The default Mono Mode is Left.

M/S Mode is a more advanced monitoring check that removes centre information using polarity inversion. It sums the signal to mono as part of this process. When M/S Mode is active, Mono is also shown as active.

Both Mono and M/S Mode can be controlled from iD Control and can be assigned to the FN button.
Talkback
Talkback provides communication with a headphone listener without changing the recording setup. A selected iD2 input is sent to the headphone output for communication while monitoring.
The Talkback source is configured in iD Control and uses one of the iD2 input channels.
Talkback is a latching control: enable it once to turn it on and again to turn it off. For hardware control, assign Talkback to the Function Button and press FN to toggle it.
Engaging Talkback also dims the monitor output.

Inputs and Recording
Analogue Inputs
iD2 provides two Audient Console Mic Preamps with combi-jack inputs.
A dedicated JFET instrument input is also available for guitar and bass. When the JFET input is in use, it takes precedence over analogue Input 1.
Select an analogue input to enter Input Mode. Its button illuminates and the Control Wheel adjusts that input's gain rather than the monitor level. To return to Output Mode, press MAIN to control the active speaker output, or the headphone button to control HP1.

Turn the Control Wheel clockwise to increase gain or anti-clockwise to reduce it. The LED ring and iD Control update to show the selected input gain. Use the corresponding input meter in iD Control or your DAW to monitor signal level.
Muting an Input
Press and hold a selected input-channel button to mute that channel.
The input button pulses while the channel is muted.
Press and hold the input button again to restore the channel.
+48 V Phantom Power
Some microphones need +48 V phantom power to operate. If your microphone requires it, iD2 can provide +48 V from either Mic/Line input. If you are unsure, check the microphone manufacturer's instructions before enabling phantom power.
Select the required Mic/Line input and press +48 V. The +48 V button illuminates red and the state is also shown on the corresponding channel in iD Control. If focus moves to a channel where +48 V is not enabled, the hardware +48 V illumination clears; returning to the channel with +48 V enabled restores the illuminated state.

Press +48 V again to disable phantom power.
+48 V is disabled by default and is available on the rear Mic/Line inputs. When the front JFET instrument socket takes over Input 1, phantom power is unavailable on that instrument path.
If you attempt to enable +48 V while Input 1 is using the JFET instrument socket, the +48 V button flashes red twice and phantom power remains disabled.
GLOW and the Analogue Tone Suite
Press GLOW to enable HMX MOSFET Harmonic Saturation and LIFT High-Frequency Lift together on the selected input channel.
The GLOW button illuminates while both processes are active, and their status is also shown in iD Control.
GLOW follows the input currently in focus, so its hardware illumination reflects the GLOW state of the selected channel. If either HMX or LIFT is disabled separately in software, GLOW is no longer active while the remaining process stays enabled.

Standalone Mode:
iD2 can be run in standalone without a host computer connected. You can save a standalone state onto the iD2 by going to file > save standalone state.
This will save all the device’s internal audio routing, cue mixes and levels, FN button assignment and input DSP to the device’s internal flash drive. This ‘state’ will be recalled whenever the iD2 is connected in standalone either via connecting the ALT power source, or to a host without iD Control installed.
Any changes made within iD Control after saving a standalone state will NOT be applied to the saved standalone state, meaning you can connect to your host and make changes for an alternate session in iD Control, without having to recall the parameters and save the standalone state again.
You can reset the standalone state of the device by going to file > reset standalone state. This will reset the device to it’s factory default settings.